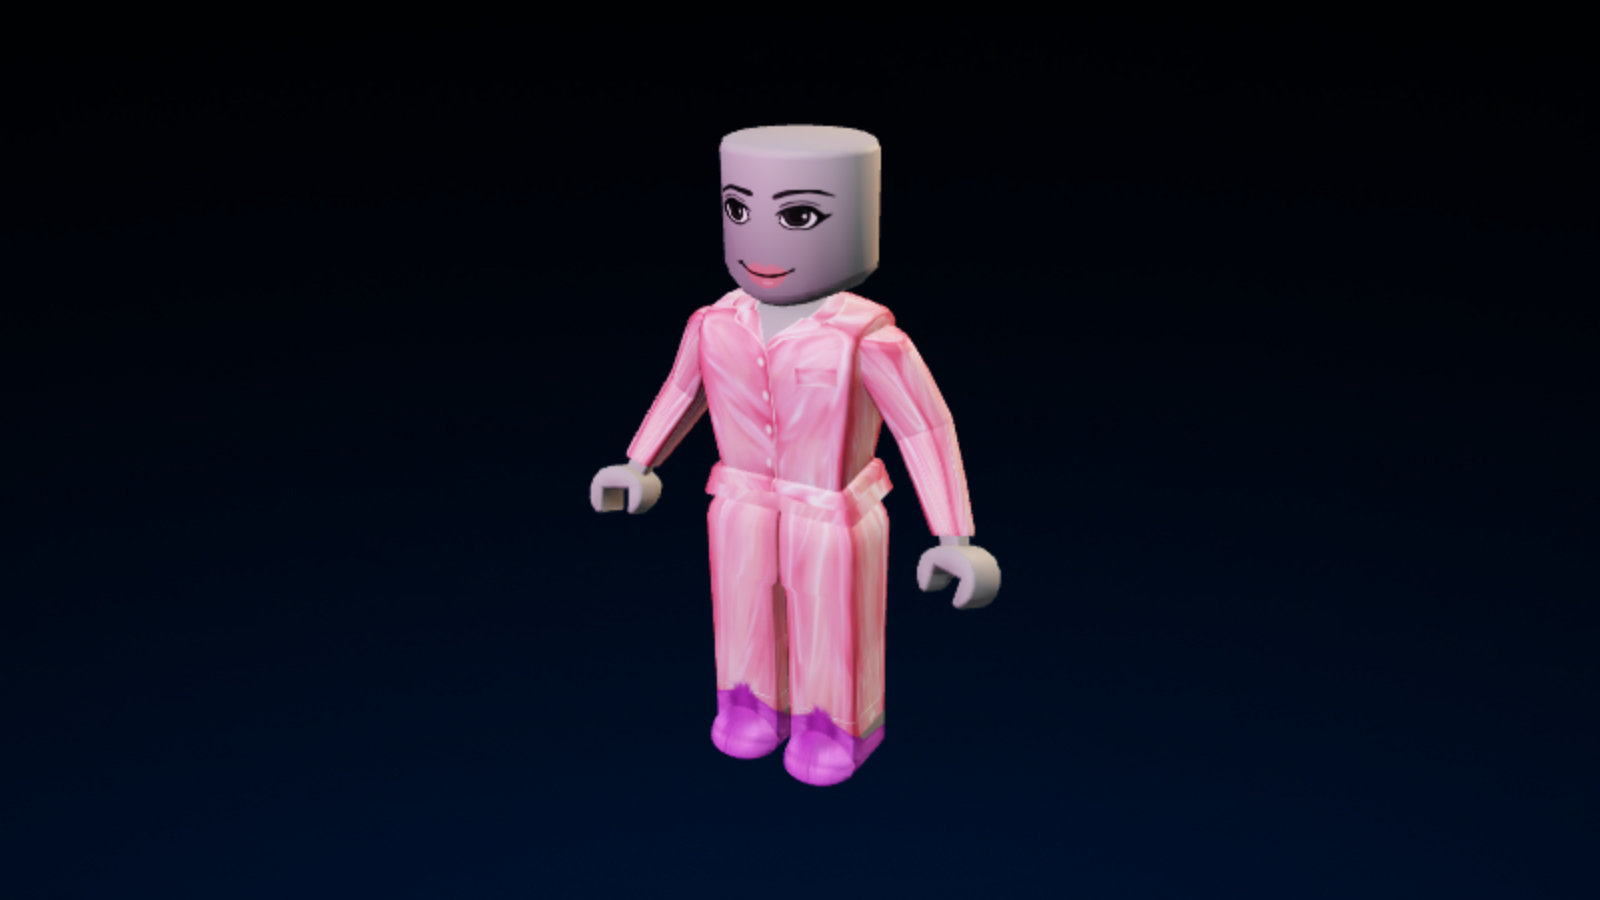
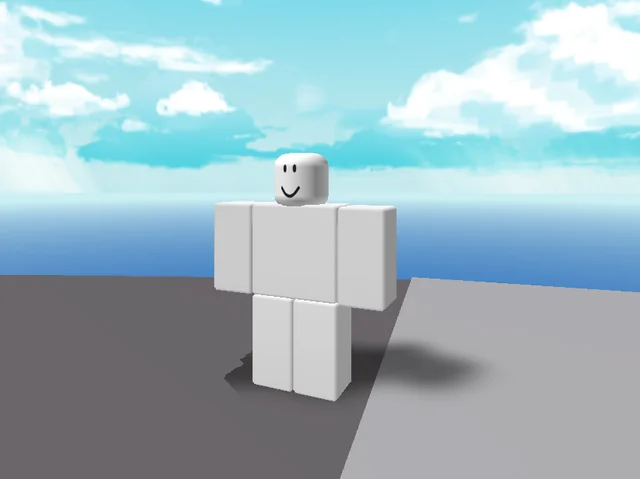
Creating clothes on Roblox is a great way to customize your avatar and stand out in the fastest growing game community.
The process allows you to develop unique designs that can reflect your personal style.
However, how to create these clothes? Here we separate all the full step by step. Look!
Step 1: Choose the model
To create an outfit on Roblox , start with a basic model, like a t -shirt.
Then you can find PNG format models on the internet. The ideal size for the image is 512 x 512 pixels , so your creations will be of high quality.
Step 2: Use an image editor
After downloading the model, open it in an image editor you prefer. Programs like Adobe Photoshop or Gimp are great options.
If you have no experience with more advanced software, online editors like Canva also help too much.
Step 3: Design Creation
Now it's time to release creativity! Therefore, use the editor's tools to customize your t -shirt model.
Thus, you can add colors, patterns and even images that represent your personality.
Remember that originality is fundamental; Avoid wearing clothes that are protected by copyright, combined?
Step 4: Save and prepare for upload
After finishing the design, save the file in the correct format for Roblox. It is important that the dimensions are exact as this can impact the success of upload.
Official Sizes for Clothing in Roblox

Here are the sizes you should follow for each part of the model:
- Front and Back: 128×128;
- Torso (parts r and l): 64×128;
- Arms and legs (parts l, b, r and f): 64×128;
- UP and Down: 128×64;
- Upper and lower part of the arms (parts u and d): 64×64
Following these measures enables roblox clothing to fit the avatar perfectly.
Testing your clothes on roblox
Before uploading, it is necessary to test the clothes on Roblox . For this, follow these steps:
- Open Roblox Studio and log in to your account;
- In the navigation bar, click "Create" and select "Clothes";
- Click “Choose File” and select the image you created;
- After upload, you will see a preview of your creation. Click "Test" to view how the clothes will be in the avatar.
If you need to make adjustments, go back to the editor, make the necessary changes, and test again.
How to put clothes on Roblox?
Once you have your outfit at Roblox approved, it will be available in your avatar inventory and you can customize your doll.
To access, just go to your avatar page on the Roblox website or app.
This way you will see all your creations, as well as other items you have.
To wear your new shirt or any other garment you have created, click on it in your inventory. Ready! Now you can parade your new look through the roblox world.
How to sell clothes on roblox?

If you want to market your creations, know that this is possible, but only for premium users.
To sell your clothes on Roblox , it is important to read the platform's monetary guidelines, so you will be able to follow all the rules and avoid problems. Here you can check out all about selling items on Roblox!
How much does it cost to create clothes on Roblox?
When it comes to creating clothes on Roblox, costs vary depending on the type of piece you want to do. For shirts and pants, creation is free, but each upload costs 10 robux.
So this means that while you can project your clothes without spending anything, you will need to invest a little to put them available in the game.
So it's interesting to look for ways to collect free robux. On the other hand, t -shirts are a completely free option, both for creating and to add to your inventory.
Also, for some other garments, such as jackets or accessories, you need to have a Roblox signature or buy them ready in the game store.